How do I convert my Implied Consent contacts to Expressed Consent?+-
In order to convert my Implied Consent contacts to Expressed Consent we recommend the following:
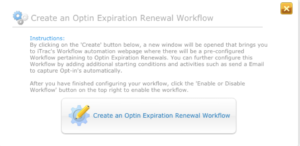
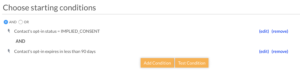
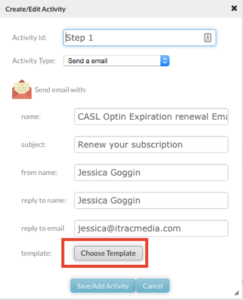
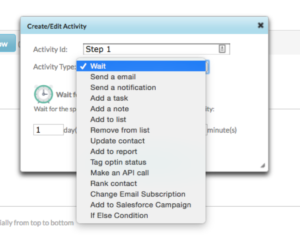
- Setting up an Optin Expiration Renewal Workflow.
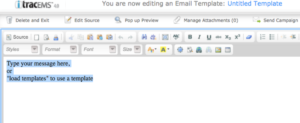
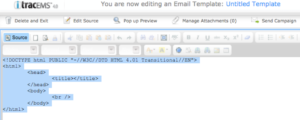
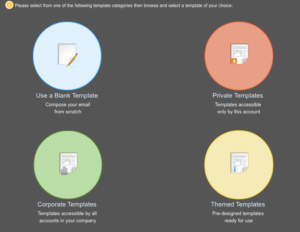
- Sending a CASL specific campaign to a segmented list of your implied contacts using the Themed Templates.
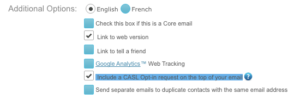
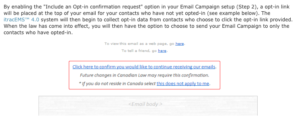
- Generate a CASL header when sending an Email Campaign that will only be visible to your implied contacts. Additional Options > Include a CASL Opt-In request on the top of your email.