This article will teach you how to effectively create a Web Form within itracMarketer. At the end, you will find our video tutorial on Web Forms.
Create a Web Form
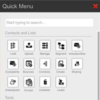
Step 1: Navigate to the Home Dashboard.
Step 2: Click the Web Form tile.

Step 3: Click the Create button.
Step 4: Enter the Name, Description and Start Date in the text boxes provided. The End Date and Budget fields are optional.
Step 5: Click the Next button.
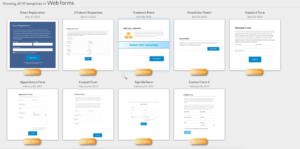
Step 6: Hover over the desired template and click Select this template.
Step 7: Enter the URL for the Redirect Page in the text box provided.
Step 8: Edit the template as desired. Drag and drop desired Components onto the template. Hover over a Component to edit, move, duplicate, style and delete the Component.
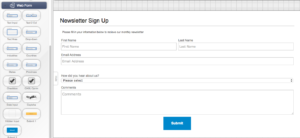
Step 9: Click the Next button.
Step 10: Review the details and click the Confirm Web Form button.
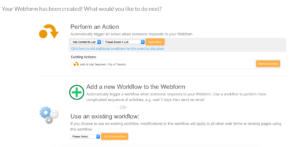
Step 11: Click the Add a new Workflow to the Landing Page link.
Step 12: Click the (Click to add and Activity) icon.
Step 13: Enter an Activity Id in the text box provided.
Step 14: Select an Activity Type from the dropdown menu.
Note: If the If/Else Condition Activity Type is selected, a Condition can be specified to apply to the following activities.
Step 15: Select/Enter the appropriate values for the following fields. The fields will change depending on the Activity Type.
Step 16: Click the Save/Add Activity button.
Step 17: Repeat steps 12 through 16 until all the Activities are added.
Step 18: Click the Finish button.