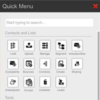
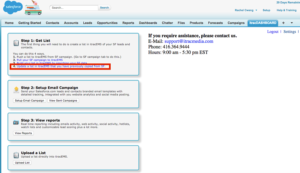
a) Accessing the itracMarketer tools in Salesforce.com
To access most of the itracMarketer tools within Salesforce, click the itracDASHBOARD on the top navigation bar.
b) Upload a List to itracMarketer
Note: This must be done before sending out an email campaign.
Use this functionality to copy a list from Salesforce to itracMarketer.
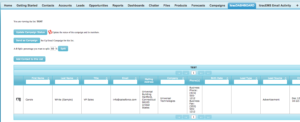
Step 1: Click the Campaigns tab.
Step 2: Select the appropriate Campaign.
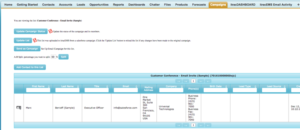
Step 3: Click Upload to itracEMS.
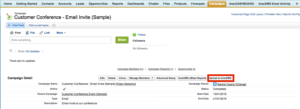
Step 4: Click Click here to Upload Campaign. This will redirect you to view the list in itracMarketer.

List in itracMarketer:
c) Upload multiple Salesforce campaigns into one itracMarketer list
Use this functionality to combine multiple Salesforce campaigns into one new itacMarketer list.
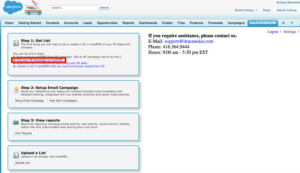
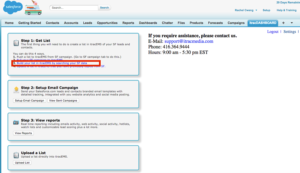
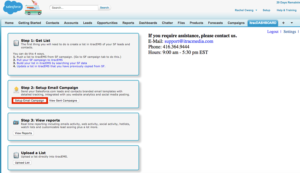
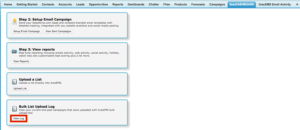
Step 1: Click the itracDASHBOARD.
Step 2: Click Pull your SF campaign to itracEMS.
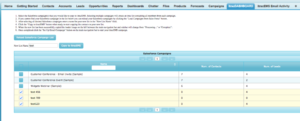
Step 3: Enter the name for the list.
Step 4: Select the campaigns you wish to include in this list.
Step 5: Click Copy to itracEMS. It will then redirect to view the new list.
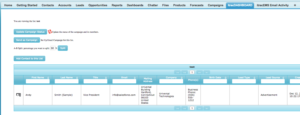
 New list in itracMarketer:
d) Update a List in itracMarketer
Use this functionality to update a list in itracMarketer that has been previously copied from Salesforce.
Step 1: Click the itracDASHBOARD.
Step 2: Click Update a list in itracEMS that you have previously copied from SF.
Step 3: Select the contact list to be updated.

Step 4: Click Update List. The updates will then refresh on the screen.

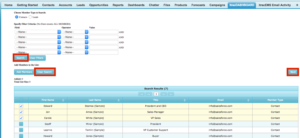
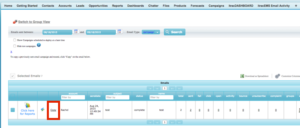
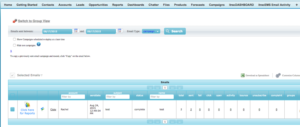
e) Build a List in itracMarketer by searching Salesforce data
Step 1: Click itracDASHBOARD.
Step 2: Click Build your list in itracEMS by searching your SF data.
Step 3: Specify the desired member criteria.
Step 4: Click Search.
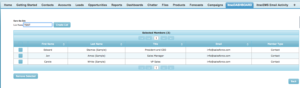
Step 5: Select the appropriate members.
Step 6: Click Add Members.
Note: To enter different criteria and add more members, click Clear Search and repeat steps 3-6.
Step 7: Click Next.
Step 8: Enter a List Name.
Step 9: Click Create List. It will then redirect to view the new list.
New list in itracMarketer:
f) Upload an MS Excel List Directly into itracMarketer
Use this functionality to upload a contact list in MS Excel format, which is not in Salesforce, directly into itracMarketer.
Step 1: Click the itracDASHBOARD. Click Upload List.
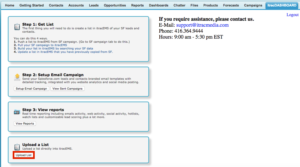
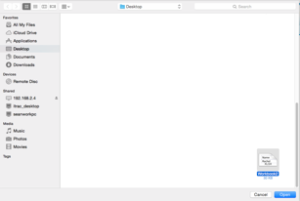
Step 2: Click Choose File to select a file from your computer.

Note: The Microsoft Excel file to be uploaded must be cleared of formatting as well as include column names that describe the attributes in those columns. All custom attributes must be created within itracMarketer before uploading the list.
 Step 3: Click Upload File.

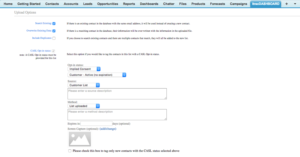
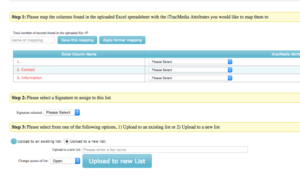
Step 4: Select the appropriate Upload Options.
Step 5: Select the appropriate itracMEDIA Attributes that correspond to the Excel Column Names.
Step 6: Select from Upload to an existing list and Upload to a new list.
Step 7: Enter the appropriate name for the new contact list in the text box provided.
OR
Select the existing contact list from the dropdown menu.
Step 8: Select the access of the list from the following options:
Default: All Users that have access to the Account will be able to view and edit the Contact List.
Private: Only the Owner will be able to view and edit the Contact List.
Only the specified User Group will be able to view and edit the Contact List.
Step 9: Click Upload to new List.
OR
Click Upload to existing List.
g) Create Or Edit Templates For Future Use
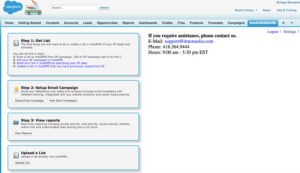
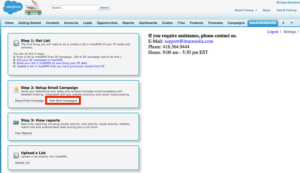
Step 1: Click the itracDASHBOARD.
Step 2: Click Setup Email Campaign.
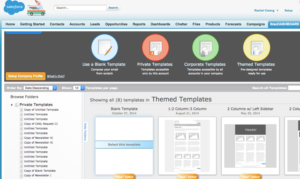
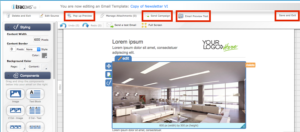
Step 3: Click Design or view a Template.
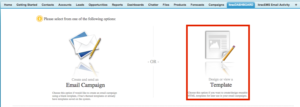
Step 4: To edit an existing template, click the folder that it is in (Private Templates, Account Templates, or Corporate Templates), and then hover over the thumbnail of the template to click Select this template.
To create a new template, click the Themed Templates folder and then hover over the Blank Template to click Select this template.
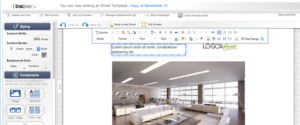
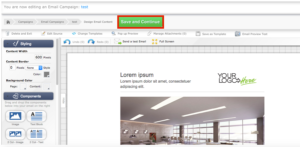
When designing or editing a template, Components can be dragged and dropped onto the template. Hovering over the Component on the template will display buttons to edit, move, duplicate, style and delete the Component. In the Edit options, hyperlinking is available. Mail merge functionality is also available in the text edit options.
To use this template in an email campaign, you can click the Send Campaign link.
To view what the template will look like in all email clients, click Email Preview Test.
To view a preview of the template, click Pop up Preview.
Step 4: To save the template, click Save and Exit, enter a Template Name and click Save.
Image Component options:
 Text Component Options:
h) Setup A New Email Campaign
Step 1: Click itracDASHBOARD.
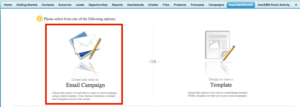
Step 2: Click Setup Email Campaign.

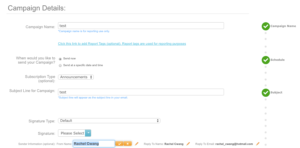
Step 3: Click Create and send an Email Campaign. Enter a Campaign Name in the text box provided.
Step 4: Click Click this link to add Report Tags (optional). Report tags are used for reporting purposes to select a Life Cycle, Campaign Type and Category. (Optional)
Step 5: Select Send Now or Send at a specific date and time. If the second option is chosen, set the desired date and time.
Step 6: Select the Subscription Type.
Step 7: Enter the Subject Line For Campaign in the text box provided.
Step 8: Select a signature or edit the From Name, Reply To Name, and Reply to Email by clicking the pencil icon, typing in the appropriate value and then clicking the checkmark.
Step 9: Edit the Additional Options as desired.
Step10: Click Select/Add Lists to add contact lists to the campaign.
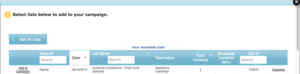
Step 11: Click the Add to Campaign button beside the appropriate contact list(s). Exit the pop-up window to continue.
Step 12: Click Add an Existing Contact or Add a New Contact to add individual contacts to the Email Campaign.
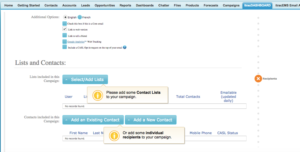
Select/Add Lists pop-up window:
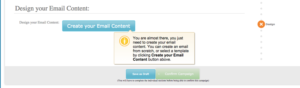
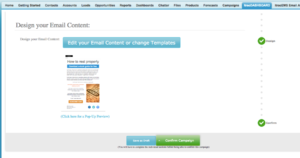
Step 13: Click Create your Email Content.
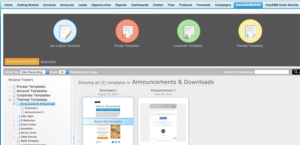
Step 14: Select a template folder. (Blank, Private, Corporate, Themed)
Note: If a blank template is desired, it is suggested to use the Blank Template in the Themed Templates folder. This template will enable the use of the drag and drop Components.
Step 15: If a Private, Corporate, or Themed template was selected, hover over the desired template and click Select this template.
Step 16: Edit the template as desired.
Note: If changes to the template are desired, it is best practice to click the Save and Exit button then edit the template in the Design or view a template page so that any changes will be reflected in the template and not just the current Email Campaign.
Step 17: Click Save and Continue.
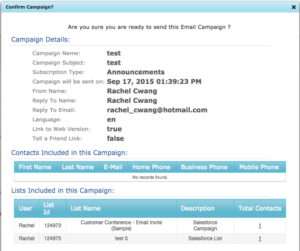
Step 18: Review the details and click Confirm Campaign.
Step 19: Review the details again in the pop-up window and click Confirm Campaign.
i) Copy A Previously Sent Email Campaign
Step 1: Click the itracEMS Email Reports tab.
![]() OR
OR
Step 1: Click View Sent Campaigns from the itracDASHBOARD.
Step 2: Click Copy beside the appropriate sent campaign.
See step 3 and onwards of section 3)g) Setup a New Email Campaign.
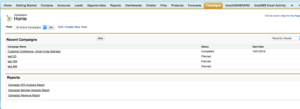
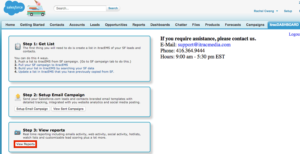
j) View Reports
To view the list of available reports, click View Reports from the itracDASHBOARD.
The following are descriptions of the available reports:
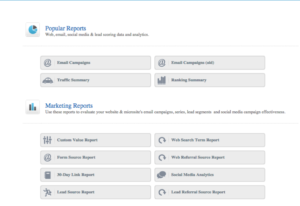
Popular Reports
Email Campaigns – This report displays the number of Email Campaigns sent, failed, clicked, opened, and bounced. As well as the number of emails that resulted in an activity, an unsubscribe or a complaint.
Email Campaigns (old) – This page can be utilized to tag reports in order to view aggregate reporting on multiple campaigns.
Traffic Summary – This report displays how many contacts were created via each channel over a selected period of time as well as information on each contact.
Ranking Summary – This report displays the number of contacts with each Rank, by Account, over a selected period of time.
Download Unsubscribe Report – This button downloads the Unsubscribe report to Microsoft Excel. This report displays the list of contacts that have unsubscribed from emails over a selected period of time.
Marketing Reports
Custom Value Report – This report displays the number of contacts entered with a selected Custom Value over a selected period of time.
Web Search Term Report – This report displays the search terms that have led to activity over a selected period of time.
Form Source Report – This report displays the number of contacts that have been generated by each Web Form over a selected period of time.
Web Referral Source Report – This report displays the number of people that have been referred by each source over a selected period of time and whether they are known contacts or not.
30-Day Link Report – This report displays the number of contacts that have clicked on the links in the sent Email Campaigns.
Social Media Analytics – This button opens the page where the number of known and unknown people who clicked posted links can be viewed, as well as the social media audit trails.
Lead Source Report – This report displays the number of leads that have been generated by each source over a selected period of time.
Lead Referral Source Report – This report displays the number of lead referrals from each source.
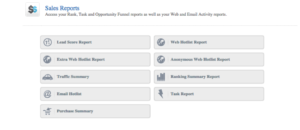
Sales Reports
Lead Score Report – This report displays the Lead Scores for all contacts.
Web Hotlist Report – This report displays the contacts that have been active on the website over a selected period of time.
Traffic Summary – This report displays how many contacts were created via each channel over a selected period of time as well as information on each contact.
Ranking Summary Report – This report displays the number of contacts with each Rank in an Account over a selected period of time.
Email Hotlist – This report displays the contacts that have either clicked or previewed Email Campaigns and how many times they have done so over a selected period of time.
Task Report – This button opens the Task Manager page.
Purchase Summary – This report displays the number of contacts that have been marked as purchasers over a selected period of time.
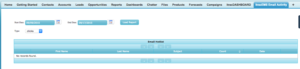
k) Bulk List Upload Log
The bulk list upload log displays a list of campaigns copied from Salesforce to itracMarketer, only if the number of campaign members exceeds 4000.
l) itracEMS Email Activity Tab
The itracEMS Email Activity tab displays the contacts who have been the most active with regard to email campaigns.
m) itracEMS Web Activity Tab
The itracEMS Web Activity tab displays the contacts who have been the most active on your web site.

n) itracEMS Email Reports Tab
The itracEMS Email Reports tab displays statistics regarding previously sent email campaigns. It is also possible to copy a previous campaign from this tab.
o) itracEMS Top Contacts Tab
The itracEMS Top Contacts tab displays the contacts with highest lead scores.