An email campaign is a set of email marketing messages designed to promote, escalate and persuade your audience into engaging more proactively with your product.
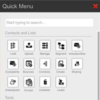
Step 1: Navigate to the Email Campaigns page.
Email Campaign Nav Item

OR
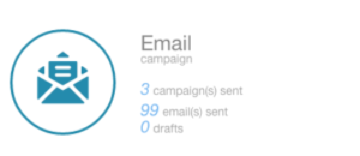
Home Dashboard>Email Tile.
Step 2: Click on the Create and Send an Email Campaign link.
Step 3: Enter a Campaign Name into the text box provided.
Step 4: Click the Click this link to add Report Tags (optional). Report tags are used for reporting purposes link to select a Life Cycle, Campaign Type and Category. (Optional)
Step 5: Select the Schedule for the Email Campaign.
Step 6: Select the Subscription Type.
Step 7: Enter the Subject Line for Campaign in the text box provided.
Step 8: Select the signature from the drop down (If have any signature created for the account)
Step 9: Edit the From Name, Reply to Name, and Reply to Email.
Step 10: Edit the Additional Options as desired.
Step 11: Click on the Select/Add Lists button to add Contact Lists to the campaign.
Step 12: Click on the Add to Campaign button beside the appropriate Contact List(s).
Step 13: Click on the Suppress button to suppress any list from the deployment. Exit the pop-up window to continue.
Step 14: Click on the Add an Existing Contact button You can also click on the Add a New Contact button to add individual contacts to the Email Campaign.
Step 15: Click on the Create your Email Content button.
Step 16: Select a type of template. (Blank, Private, Corporate, Themed) If a blank template is desired, we suggest you use the Blank Template in the Themed Templates folder. This template will enable the use of the drag and drop Components. Copy the template to edit as desired.
Step 17: If a Private, Corporate, or Themed template was selected, hover over the desired template and click Select this template.
Step 18: Edit the template as desired. If you wish to make any changes to the template, it is considered best practice to click the Save and Exit button and then proceed to edit the template in the Design or view a template page. This will ensure that any changes made will be reflected in the template and not just the current Email Campaign.
Step 19: Click the Save and Continue button.
Step 20: Review the details and click the Confirm Campaign button.