To set up a web form, navigate to the Web Form tile on your Home Dashboard.
Begin by selecting Create.

Now fill in the information for the form’s name, description, start date and end date (optional). Select Next.
Here, you’ll be able to choose a ready-made editable template to build and customize your form. To select a template, hover over the chosen template and select Choose this Template.
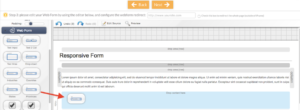
You’ll be taken to the template editor where you can edit all the fields and labels for your form. To make changes, hover over the area and select Edit.

You can also drag and drop new components into your template, such as a text area, a drop down menu, etc.

When all of your changes have been made, select Next where you’ll be able to Save as Draft to work on later or Confirm Form. If you have confirmed your form, you will now be able to configure additional options such as setting up a workflow or specific actions.
Read: Create a Web Form
